Dryfy Targets
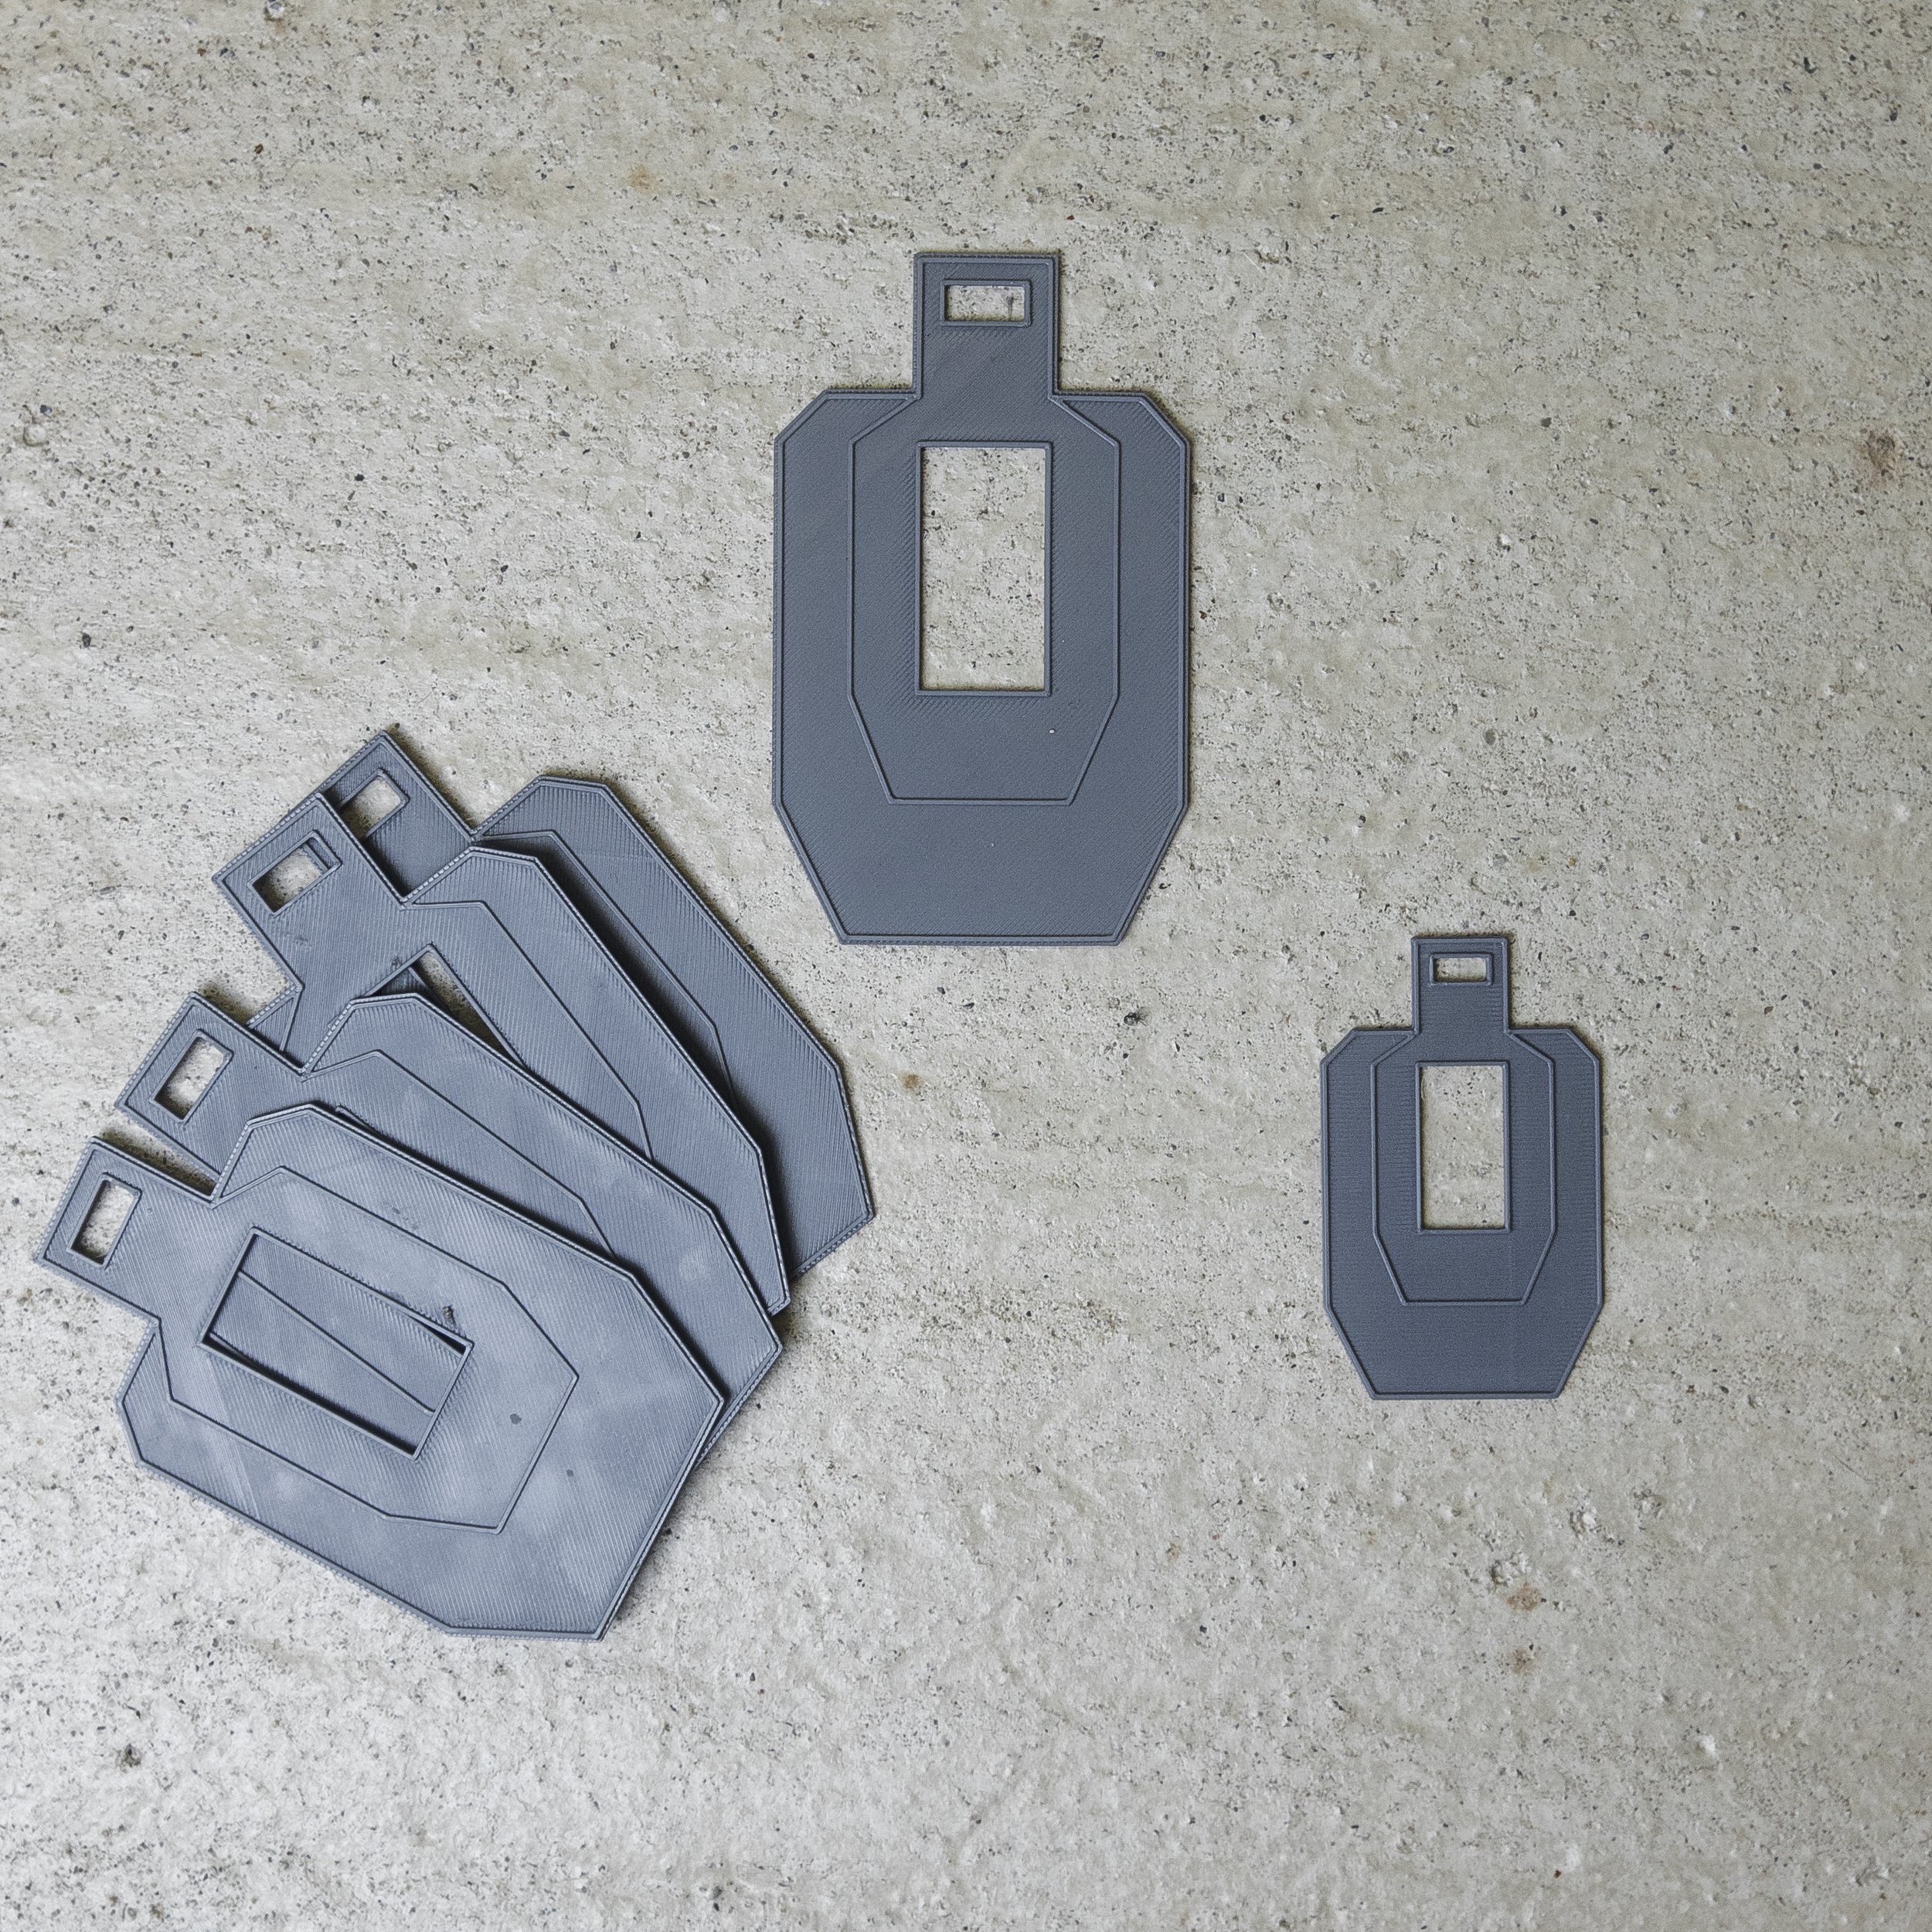
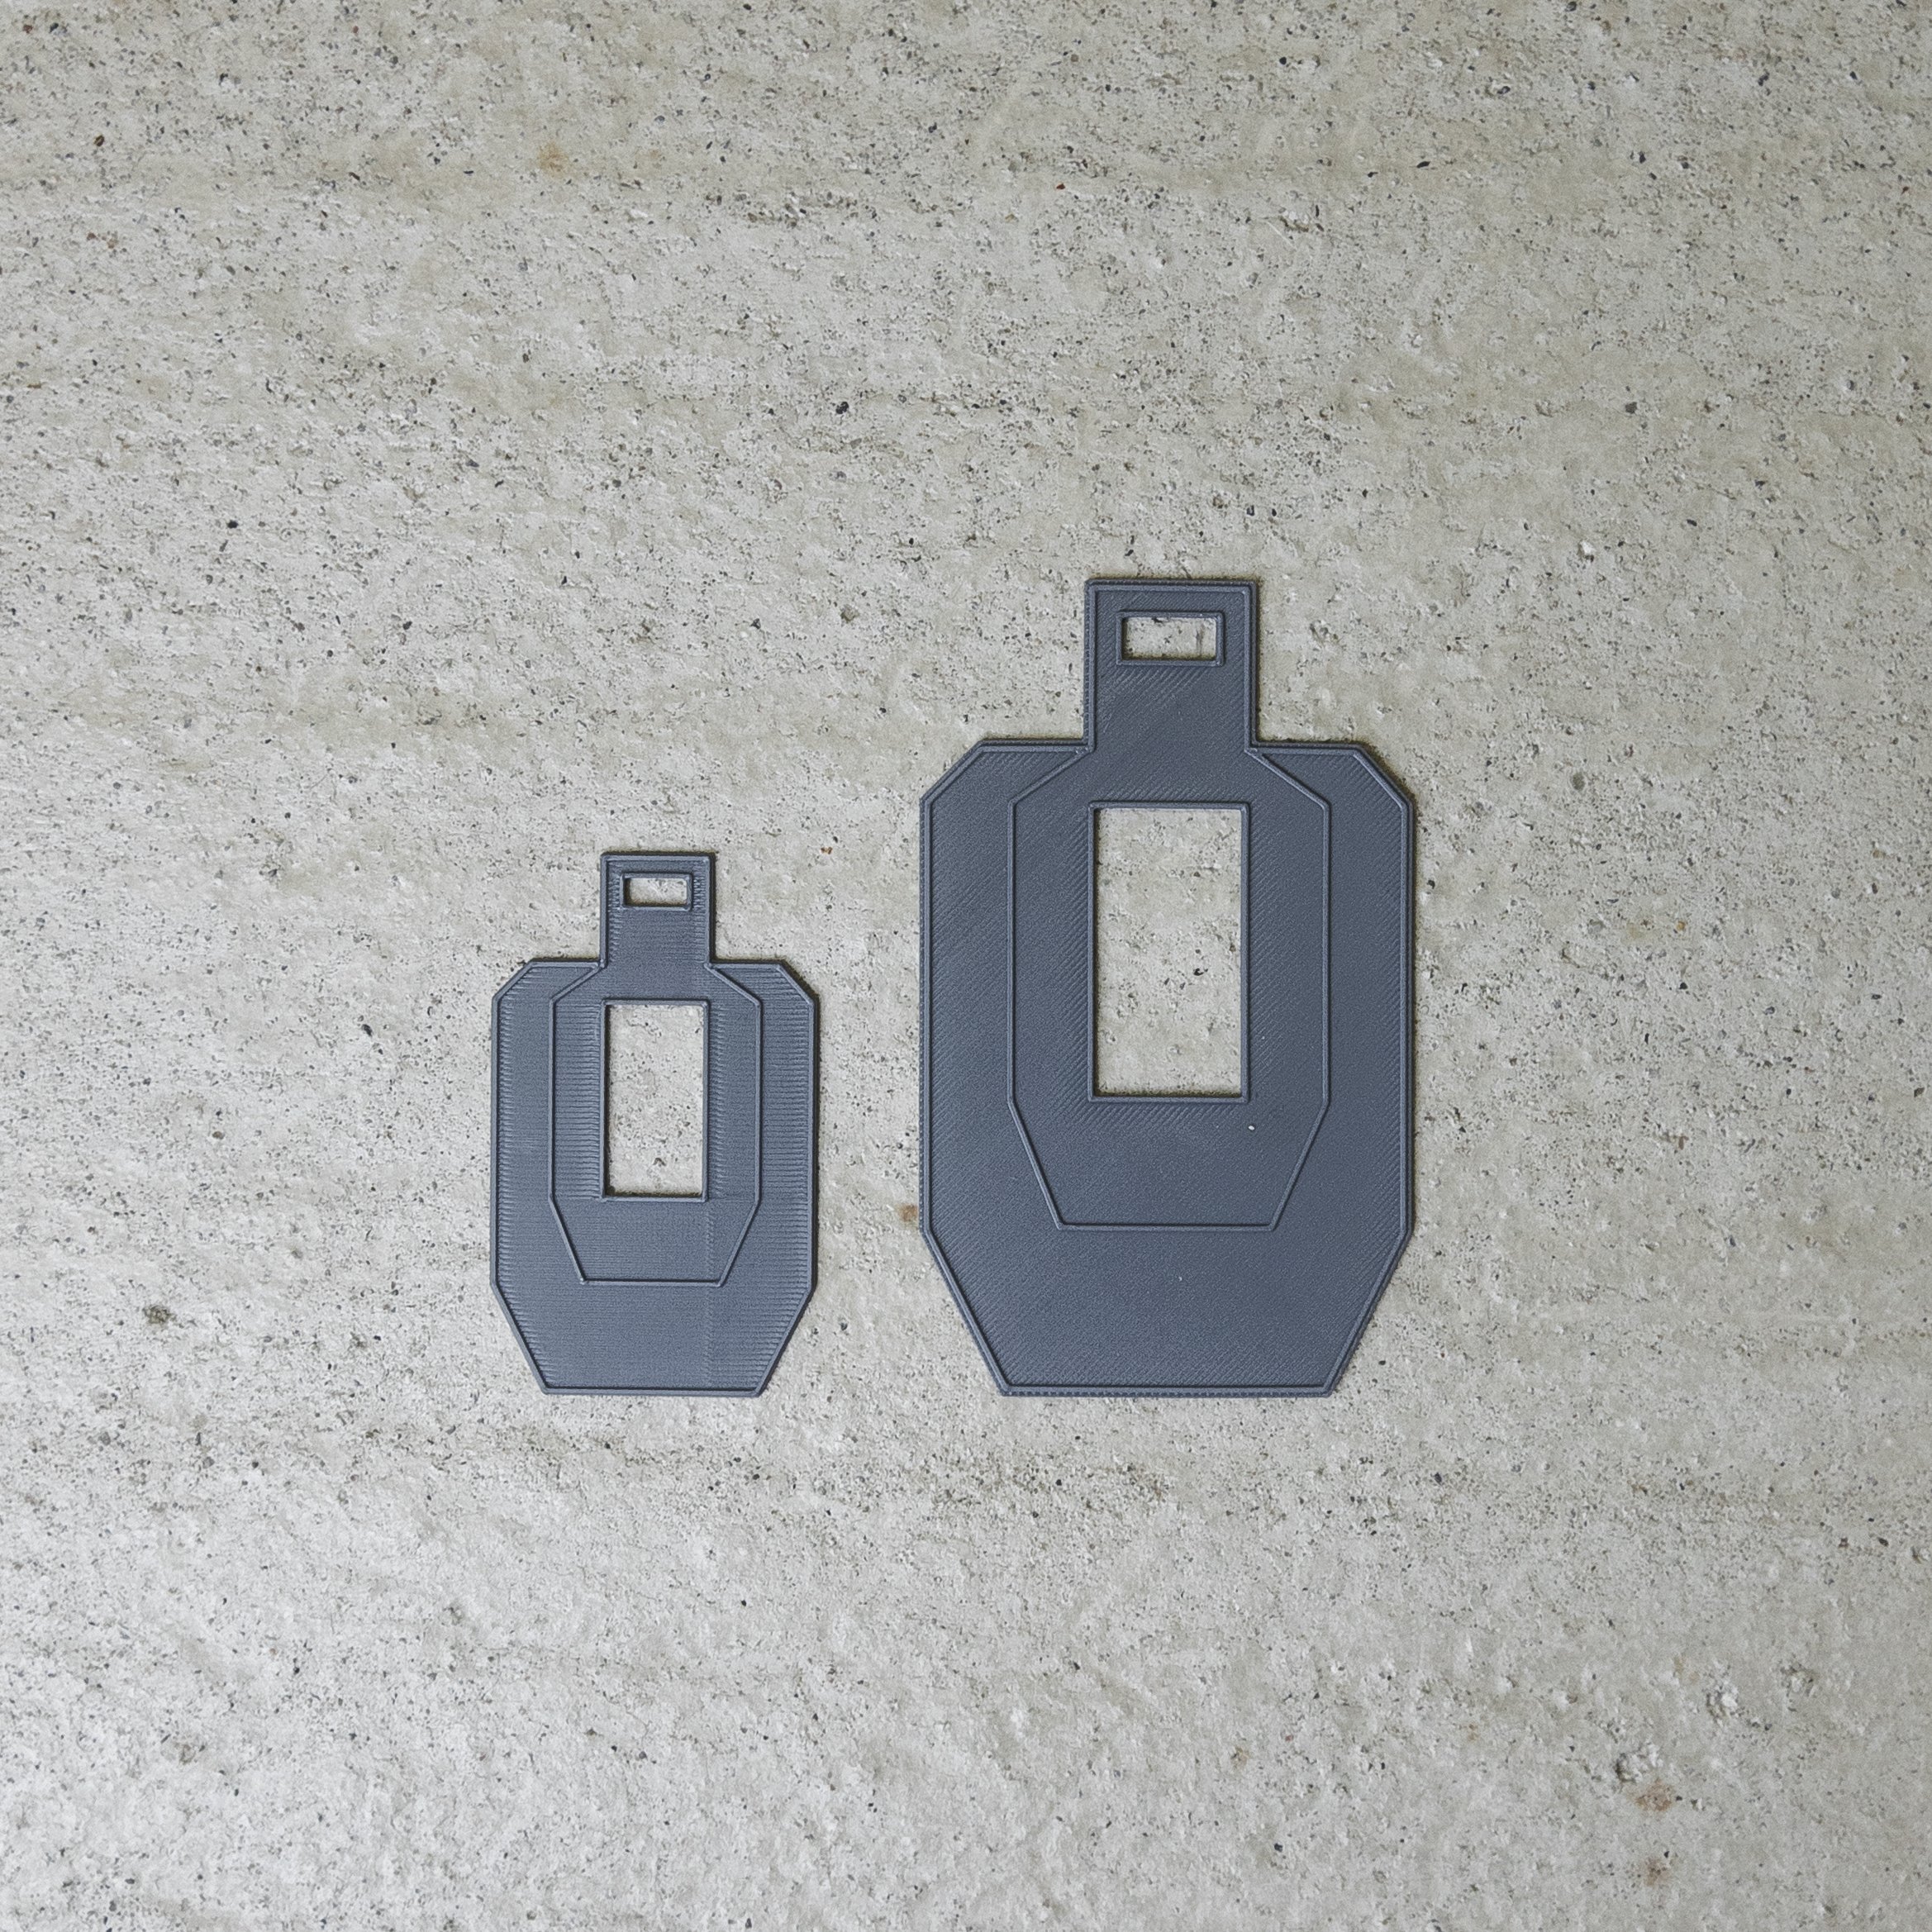
Standalone Dryfy Targets that come with our kits. 3 Targets are included with each pack, each a different size to simulate different distances away. Each target has a hollow zone for the A zone and T box, this is for a higher contrast to know for sure if you landed on target or not during a transition.
Each target has a smooth back to allow for easy adhesion to a wall. Using double sided tape or sticky tack are the best methods for placement.


